A Frame Bathroom
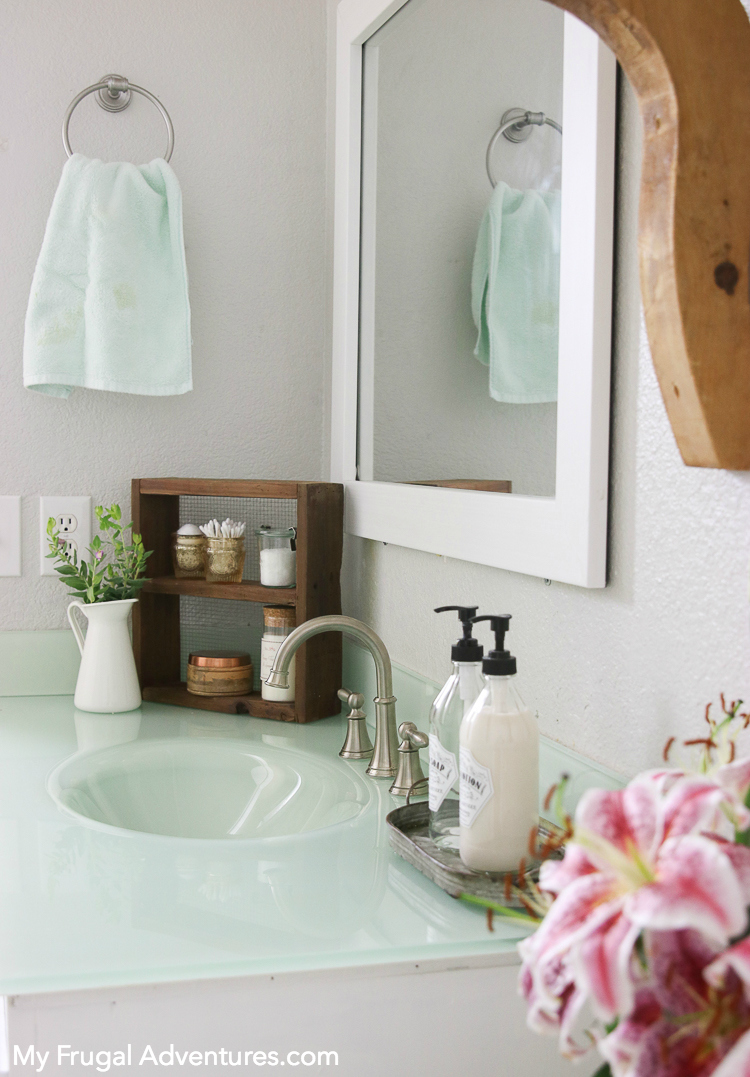
We did a very simple guest bathroom update recently that I thought I'd share with you guys. This tiny update makes a huge difference and I can't wait to show you the before and afters. I have a very boring builder grade guest bathroom with a very boring builder grade flat mirror on the wall. That mirror drives me nuts and I have wanted to add a frame to it for ages now. My husband and I tried to build our own frame at one point but it just didn't look right and I scrapped the entire project.
When I was approached by a company called Frame My Mirror to collaborate on a mini bathroom update, I was really pretty excited. Finally! A professional mirror frame! Sign me up! If you have never considered framing your bathroom mirror, it really makes a huge impact. Sort of like adding colorful accessories to jeans and a t-shirt. It instantly updates the space and makes the entire room look polished.
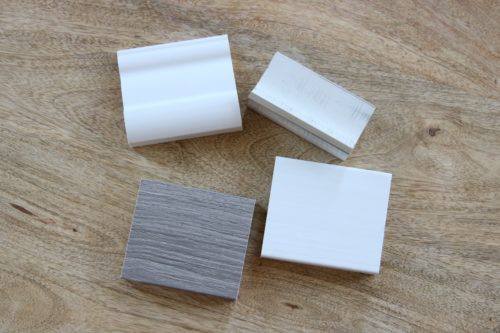
So here is how it works. You start by heading over to the Frame My Mirror and taking a look at the frames they offer. There are all sorts of colors and patterns and textures to choose from. I wanted something light and bright so I requested (3) different white samples and one weathered grey sample. The samples are just $1 for (4) and came very quickly in the mail.
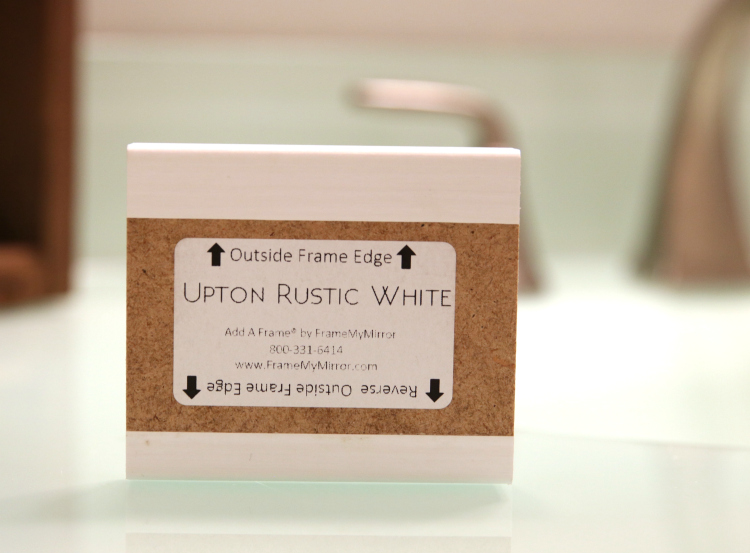
Once your samples arrive, you can see how they might look up to the mirror and decide which is going to work best for you. I wanted something slightly rustic and white and simple so I choose the Upton Rustic White frame.
Next you measure your bathroom mirror (frame my mirror makes the process incredibly simple with step by step instructions on how to measure it) and then enter the measurements online. Now you wait for your frame to arrive!
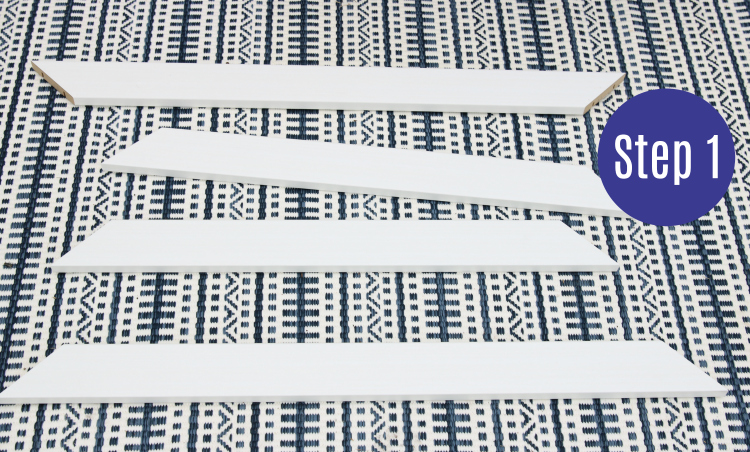
My frame took about 1-2 weeks to arrive and my husband and little girl unboxed it as I was making dinner one night. This is a very simple process for those that are comfortable with DIY and those that are not. The only tool you will really need is a hammer. My 9 year old actually did most of the work right at the kitchen table and then she helped my husband install it the next day. Really couldn't be easier. You will need to remove the existing mirror clips holding your mirror with new clips that Frame My Mirror will send. They finished that in a few minutes.
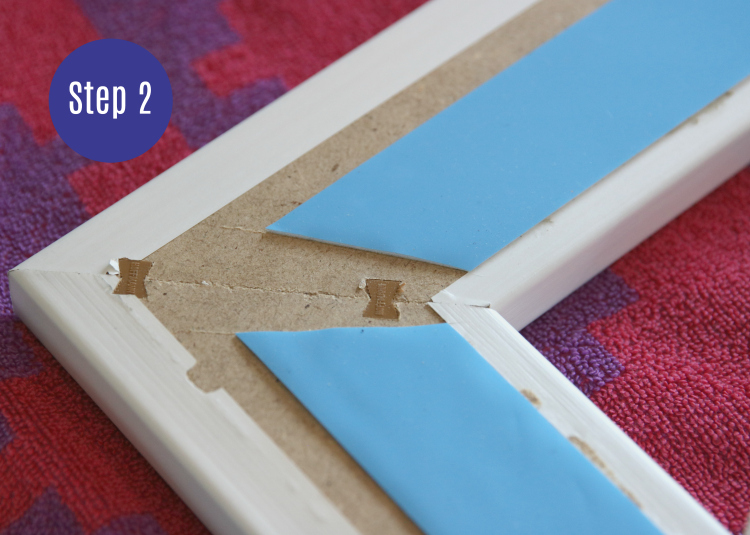
You will also receive glue inside your box and these little brown wedge pieces to get a perfect, tight fit on the frame corners. You glue the edges of the frame, place them perfectly together and then gently use your hammer to tap in the wedge pieces for a super secure fit.

Once the frame is assembled there is super secure tape that peels off the back to adhere to your wall. You want to allow the glue time to dry so set aside the frame for at least 3 hours. We put ours aside for a day. Remove the backing for the tape and then mount it on your wall. That is it!
Now are you ready for the before?
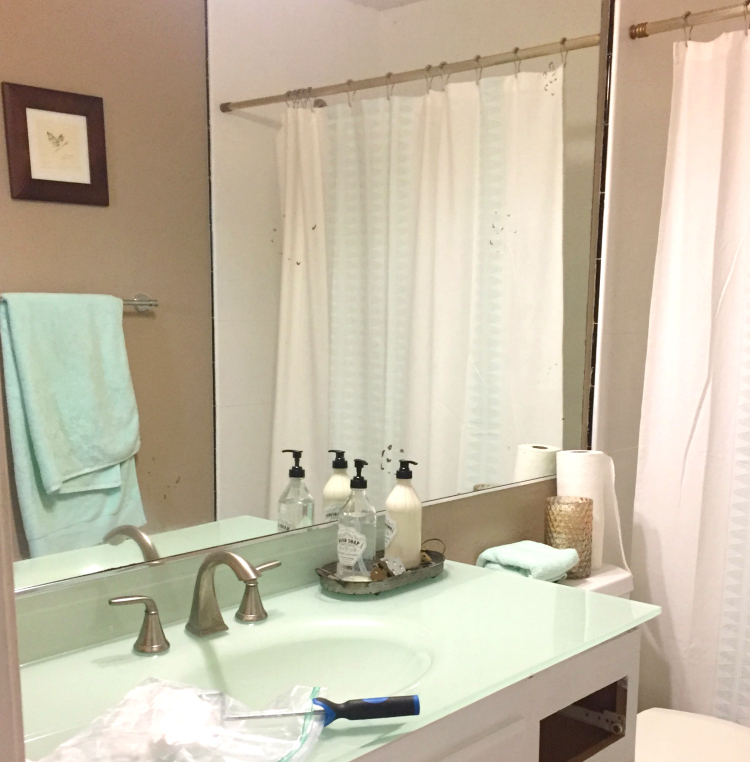
Now before you judge this horror show too harshly, I need to tell you this was right as we were prepping the space to paint the vanity. So it really does look especially terrible. But there are many issues here- first the paint- a depressing brown, second the vanity was painted a dark espresso brown- again brown on brown on brown- blech.., third was the oversized mirror. We aren't sure what was wrong with the mirror but it was too big and had discolored spots on it randomly. We think the previous homeowners had some sort of suction cups on the mirror?
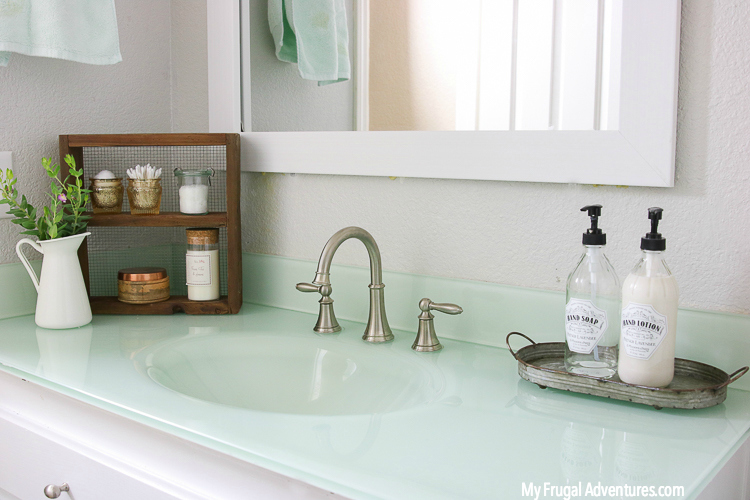
Anyway- we set to work painting the vanity a fresh white and painting the walls a soft grey. Instantly the space was 100x brighter. Next we removed the old mirror and purchased an inexpensive one from the home improvement store along with a new light fixture. All of those items are very affordable and quick updates. Next we added hardware to the vanity, added fresh towels and accessories and the Frame My Mirror frame was the final touch.
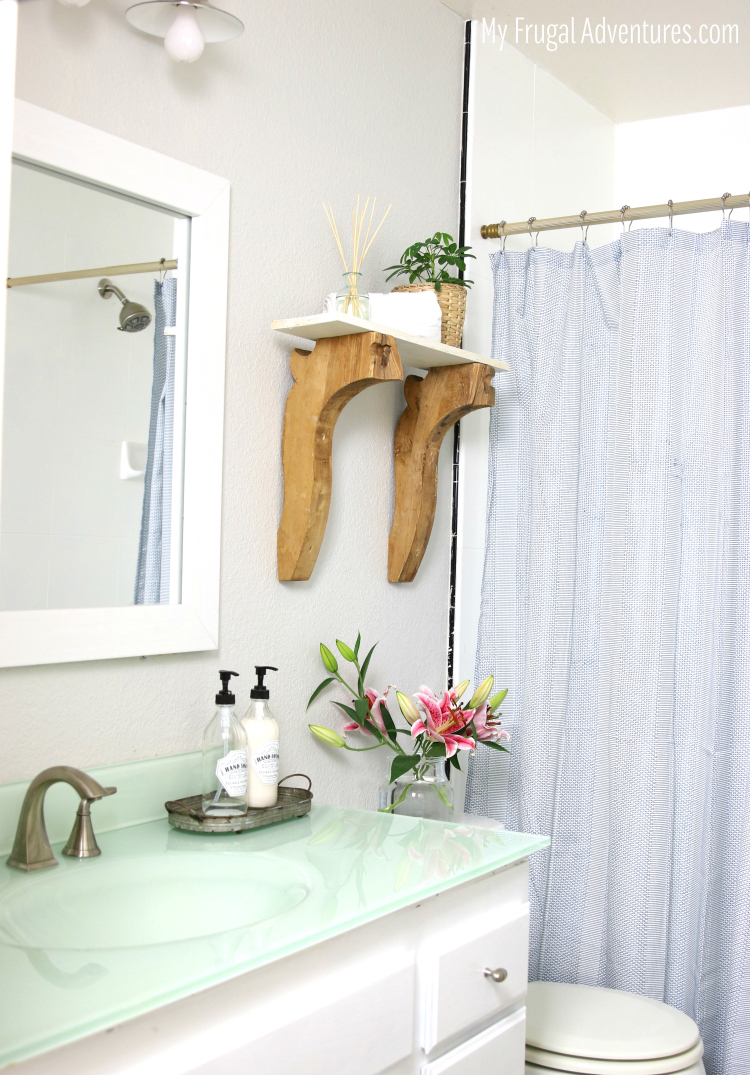
Oh and I had a ton of extra space above the toilet once we removed the oversized mirror. I bought these old corbels at a vintage store ages ago and they have been sitting in the garage. My husband trimmed them a bit and attached them to the wall and I just plopped a piece of scrap wood painted white on top to create a shelf. I love this detail. My husband is not a fan but what does he know 😉
I do need to update the faucet so that is on the list of things to do and I would love to update the tile in the near future as well. In the meantime I think this space looks much, much better and it is finally a bathroom I am not embarrassed to actually have guests use.
If you want to check out Frame My Mirror for your own bathroom, you can save $10 off your purchase with code: MFA-10xr at checkout.
Source: https://myfrugaladventures.com/2017/06/add-frame-bathroom-mirror/


0 Komentar